**Introducing the Ultimate Guide to Crafting a Durable Concrete Dog Bowl**
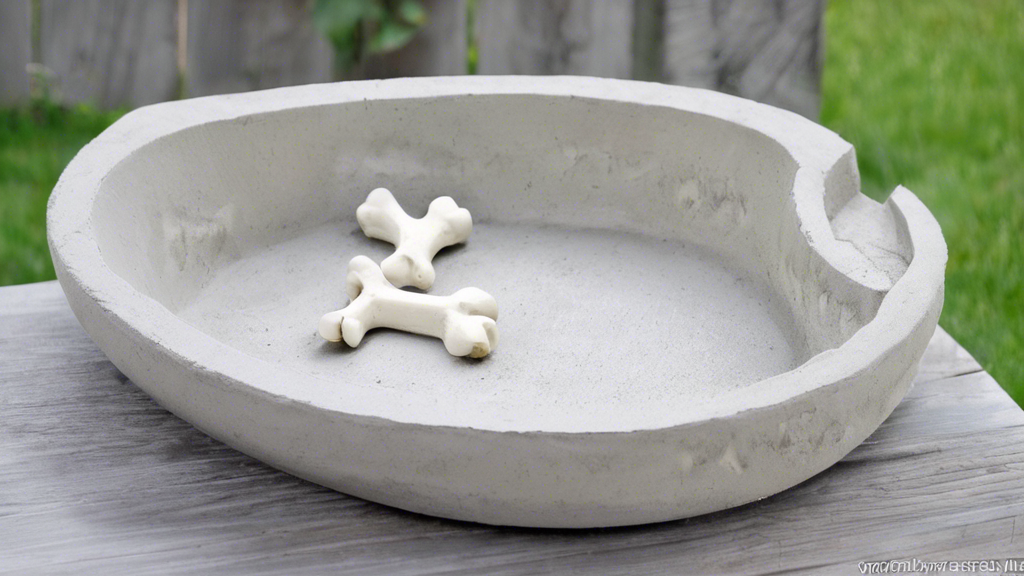
Creating a concrete dog bowl is an easy and budget-friendly DIY project that adds a unique touch to your pet’s feeding routine. This comprehensive guide will walk you through every step of the process, from gathering materials and preparing molds to mixing and pouring the concrete.
With clear instructions and helpful tips, you’ll learn how to:
* Acquire and prepare essential materials for the bowl, base, and sealants
* Construct and prepare molds for shaping the concrete
* Mix the concrete to an optimal consistency for pouring
* Pour and smooth the concrete into the molds effectively
* Follow curing and sealing techniques to ensure longevity of the bowl
Whether you’re a seasoned DIY enthusiast or a beginner looking for a fun and practical project, this guide will empower you with the knowledge and techniques needed to create a durable and stylish concrete dog bowl that will serve your furry friend for years to come.
DIY Concrete Dog Bowl: Materials and Preparation
Materials Required for the Bowl
Ingredients:
- Concrete mix
- Water
- Pigments (optional)
Equipment:
- Mixing bowl
- Trowel
- Measuring cups and spoons
- Safety glasses
- Dust mask
Materials Required for the Base
Options:
- Piece of plywood
- Ceramic or porcelain tile
- Corkboard
Materials for Sealant
- Concrete sealer
- Paintbrush or spray gun
Preparing the Materials and Molds
Step 1: Mixing the Concrete
- Follow the manufacturer’s instructions for mixing the concrete.
- Adjust the water content to achieve a consistency similar to thick batter.
Step 2: Preparing the Base
- Cut or shape the base material to fit the desired size and shape.
- Sand the edges of the base to ensure a smooth finish.
Step 3: Preparing the Molds
For the Bowl:
- Choose a mold that is suitable for the size and shape of the desired bowl.
- Lightly oil the inside of the mold to prevent sticking.
For the Base (optional):
- Use a mold or create a frame to hold the base material in place.
- Line the mold with plastic or wax paper to prevent the concrete from sticking.
The #1 Free Source for Pitbull & Bully Pedigrees!
## Mixing and Pouring Concrete
### Mixing Concrete
1. Wear appropriate safety gear (gloves, safety glasses, and a dust mask).
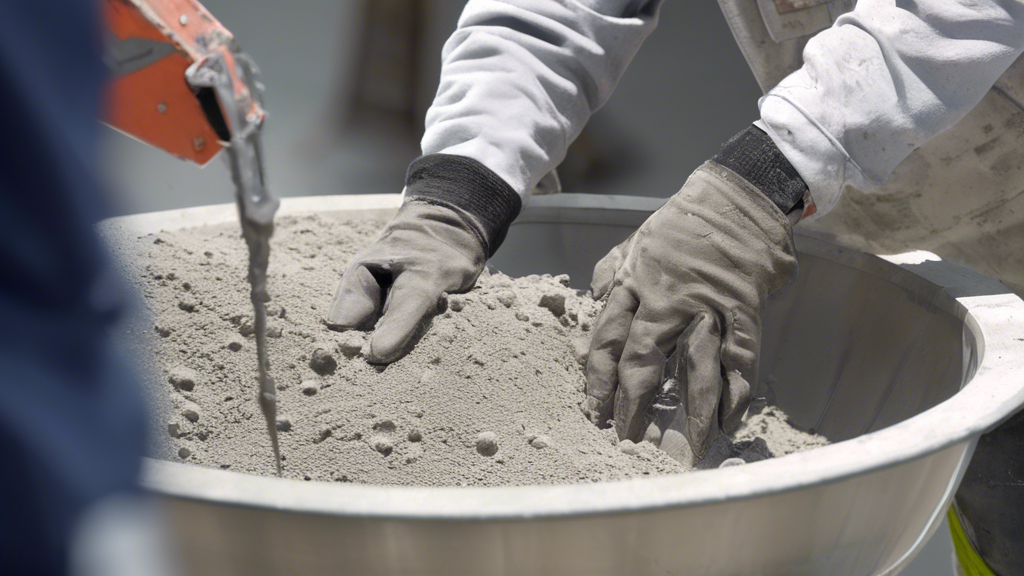
2. In a large mixing bowl or bucket, combine the concrete mix and water in the manufacturer’s recommended ratio.
3. Use an electric drill with a paddle mixer attachment to mix thoroughly until the concrete reaches a smooth, lump-free consistency.
### Pouring Concrete
1. Pour the mixed concrete into the mold, filling it to about halfway.
2. Tap the mold gently on the sides to release any trapped air bubbles.
3. Fill the mold to the top, smoothing the surface with a trowel.
4. Level the top by tapping the mold with a level or ruler.
### Curing and Sealing
1. Allow the concrete to cure for 24-48 hours in a warm, dry environment.
2. Remove the bowl and base from the molds and allow them to cure for another 7-10 days.
3. Apply a concrete sealant to the bowl and base to protect them from moisture and wear. Use a brush or roller to apply the sealant evenly.
4. Allow the sealant to dry according to the manufacturer’s instructions.
**Tips:**
* Use a concrete mix specifically designed for small projects.
* Add water gradually while mixing to avoid a watery consistency.
* If the concrete becomes too thick, add a small amount of water at a time and mix thoroughly.
* Use a damp cloth or sponge to wipe away excess concrete from the edges of the mold.
* Protect the curing concrete from temperature extremes and moisture.
* Reapply the concrete sealant every year or as needed to maintain the durability and appearance of the bowl.
**Conclusion:**
Congratulations on successfully crafting your own concrete dog bowl! By following the outlined steps, you have created a durable and stylish addition to your pet’s essentials. Remember to let the concrete cure completely before use, and ensure regular cleaning and sealing to maintain its longevity.
Concrete is a versatile material that offers both strength and aesthetics. Its versatility extends beyond dog bowls, allowing you to explore other creative projects. Consider customizing your home décor with concrete planters, coasters, or even countertops. Let your imagination soar and enjoy the satisfaction of creating functional and unique pieces that reflect your personal style.
Making a concrete dog bowl is not only a rewarding experience but also a testament to your DIY skills. Embrace your creativity, continue exploring the possibilities of concrete, and share your creations with others.




Leave A Comment